Whether you’re renting or buying, move-in cleaning (or pre-move in cleaning) is a necessity. The person or people who lived there before you, no matter how well-intentioned, inevitably leave behind some dirt, grime, and dust. You’ll want to take care of it before you settle in. Unless you’ve just moved in to brand new construction, that blank slate isn’t entirely as empty as it looks. Therefore, Crystal Cleaning offers additional tips on how to deep clean your new home part II before getting too comfortable.
Cleaning a house before you move in is ideal since you won’t have the added difficulty of working around many furniture and boxes. But if you have to wait until after you move, that’s fine, but don’t skip the cleaning entirely.
There are quite a few steps to move in cleaning. Check out last week’s post for additional tips on how to deep clean your new home part II. Here’s are some additional tips to get you going:
Step 4: Clean the Bathrooms
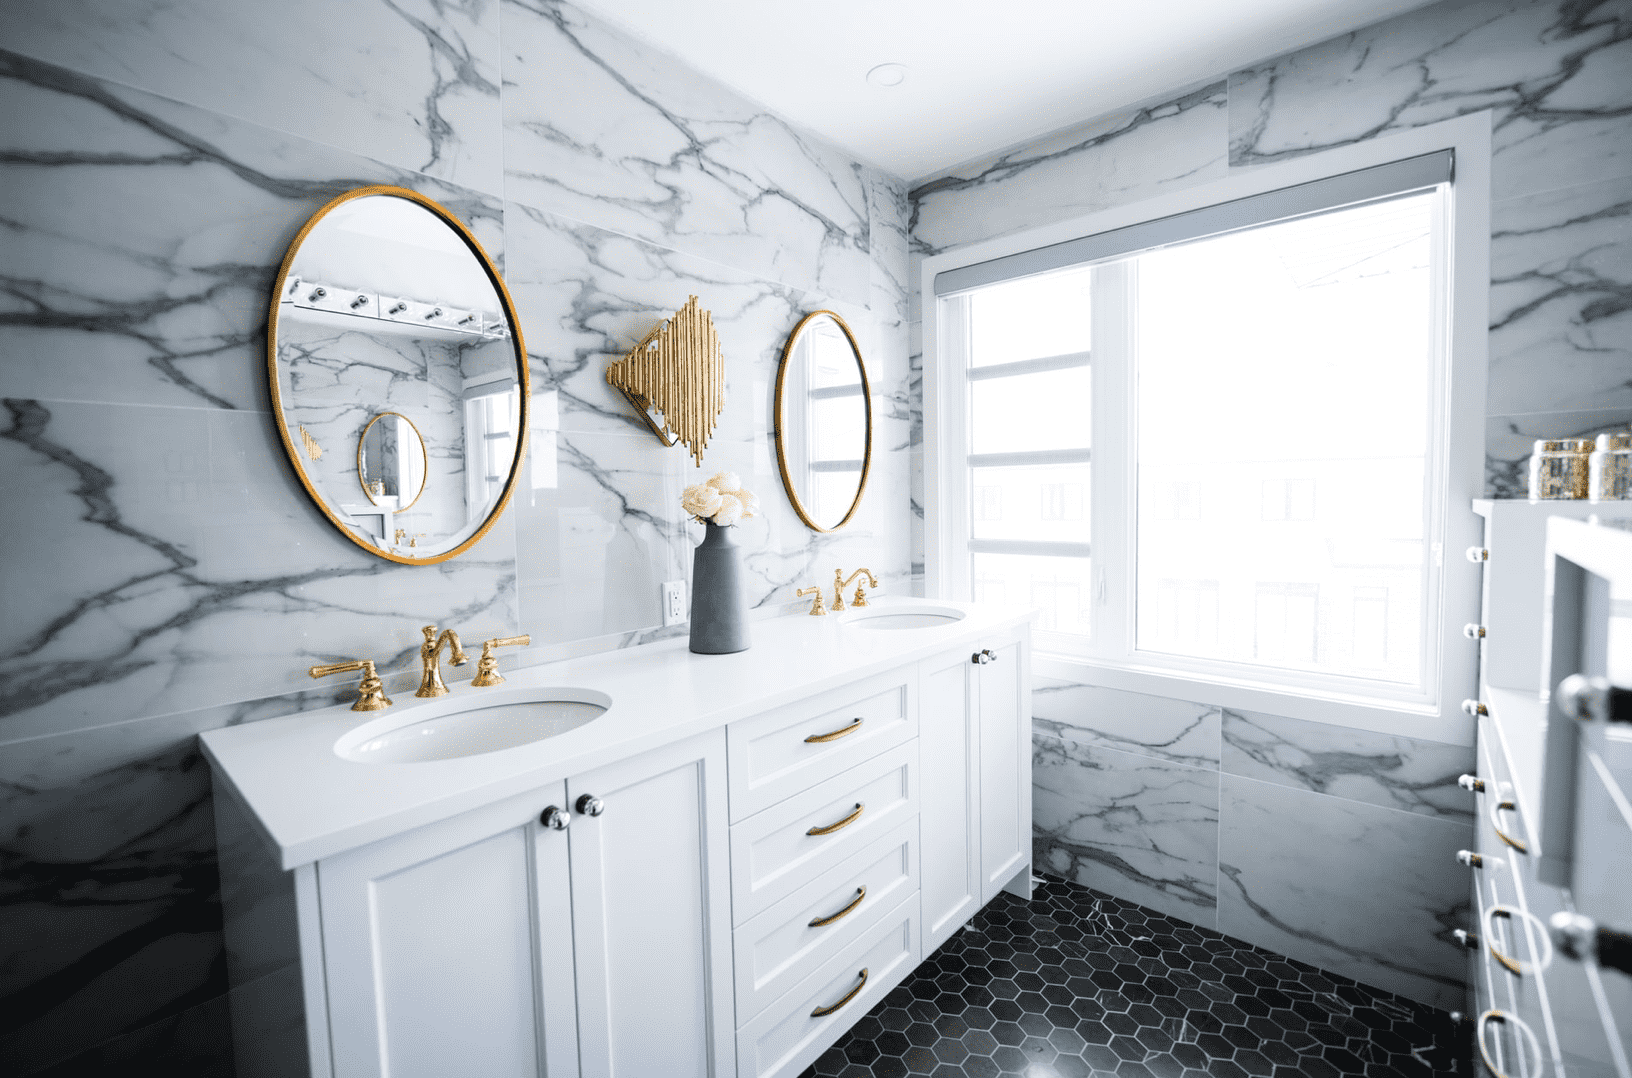
Bathroom cleaning is as much about disinfecting as it is about spotless surfaces. Blue Dawn dish soap and a sponge are all you need for the initial scrub down. However, follow up with an antibacterial spray to get rid of any lingering germs. For toilet seats, go ahead and replace them. It’s a small expense and the most efficient way to ensure they’re spotless.
While cleaning, don’t forget the unexpected areas you might skip over during a typical bathroom cleaning day. In addition to the usual suspects, also be sure to clean and sanitize the toilet paper holder, light switches, faucets, and door handles.
Hard water stains on metal hardware like faucets and showerheads can be challenging to remove. To make it easier, rub them down with juice from a fresh lemon. The acid is excellent at breaking down hard water stains and making metal surfaces shine like new.
Step 5: Clean Item by Item
For the rest of the cleaning process, go item by item instead of room by room. Per step one, you’ll want to do this top-down, so start with the ceiling. Don’t forget the easily overlooked surfaces, such as the tops of doors, windows and window treatments, light switches, and closet interiors. For most of these areas, a suitable vacuum attachment will help you suck up the dirt and dust, which you can then follow up with clean damp rags.
Never wash the windows when the sun is at its height, as it will make it challenging to see grime and streaks. Wait until evening, or at least start with windows that are in the shade.
Step 6: Leave the Floors for Last
You started at the top, so end at the bottom. For wood, tile, and linoleum floors, begin using a vacuum attachment to clean corners and edges. Then sweep up all remaining debris. Don’t vacuum the entire exterior unless your vacuum’s design allows for it. Finish up by mopping, making sure to use a product that’s safe for the surface you’re using it on.
For an efficient carpet clean, you’ll want to use a steam cleaner. If you don’t own one, call in a professional like Crystal Cleaning to do the job. You can also rent one from a local hardware store. Vacuuming alone may make the carpet look clean, but it won’t do much toward removing allergens or improving air quality.
To clean stained or grimy grout, combine equal parts water and bleach in a bowl and then use a toothbrush to scrub. Let the solution sit for an hour or so, and then wash it clean.
Contact Us
In need of a deep clean for your new home? Trust the expert cleaning company. Contact us today!


