
A new house or apartment presents many possibilities: bare walls, an uncluttered space, and an empty canvas to make yourself a home. But before you get started on the fun parts of moving, you have to take care of the basics. It would be best if you deep clean your new home first before getting too comfortable.
Deep-Cleaning Your New Home
Whether you’re renting or buying, move-in cleaning (or pre-move in cleaning) is a necessity. The person or people who lived there before you, no matter how well-intentioned, inevitably leave behind some dirt, grime, and dust. You’ll want to take care of it before you settle in. Unless you’ve just moved in to brand new construction, that blank slate isn’t entirely as empty as it looks.
Cleaning a house before you move in is ideal since you won’t have the added difficulty of working around many furniture and boxes. But if you have to wait until after you move, that’s fine, but don’t skip the cleaning entirely.
There are quite a few steps to move in cleaning. Still, you should be able to get your place looking as shiny and new as possible in just a day or two with some elbow grease and perhaps another pair of helping hands. Here’s are some tips to get you going:
Step 1: Clean High Before You Clean Low
Floors and countertops aren’t the only victims of dust. Ceiling fans, overhead lighting fixtures, shelving, and other features close to the ceiling are just as prone to getting grimy. However, they don’t get cleaned as often and tend to sprinkle dirt and dust onto the space below them when they finally scrub down. Since cleaning these high up features will inevitably lead to the area below them getting a little bit filthy too, start at the top in each room and then work your way down.
Ceiling fan blades are notorious for collecting and splattering dust. To minimize the collateral damage, slip an old pillowcase over each edge and wipe away from the center of the fixture using the inside of the pillow case’s top layer. Most of the escaping dust will get collected in the case, which you can clean or toss.
Step 2: Clean the Fridge Before Other Appliances
There are some things you can put off while you get everything cleaned, but storing your perishable food isn’t one of them. Therefore, before you get to everything else, start by sanitizing your new fridge. This process should only take about 20 minutes since it’s empty of contents.
Start by removing the shelves and drawers to clean those individually with soap and warm water. Inside the fridge, make a solution of equal parts water and white vinegar, and use a clean rag to scrub down all the surfaces. If there’s any stuck-on gunk to remove, let the water/vinegar solution sit and soak in for a bit. Make sure shelves are completely dry, and then return them to the fridge. Repeat these steps with the freezer.
If you’re dealing with sticky fridge grime that won’t budge, boil some water and pour it on the dirt. Once the water is cool enough to touch, put your muscles to work and give it a deep scrub. The stains should come off.
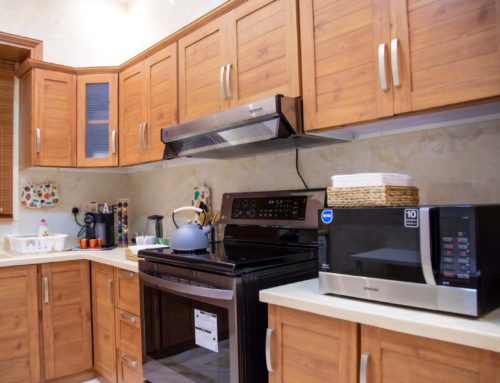
Step 3: Finish the Rest of the Kitchen
Once the fridge is clean, you can get to work on the rest of the kitchen. Follow step one and start with the lighting fixtures, corners of the ceiling, and the cabinets’ tops. Then wipe down the appliances: stovetop, oven, microwave, dishwasher, and sink, followed by the countertops. Next, do the cabinets, clean them inside and outside, and pay special attention to their handles. Hold off on doing the floor for now.
Baking soda and hydrogen peroxide make a powerhouse solution for getting rid of stubborn stovetop stains. To make the solution, pour baking soda into a small bowl and add enough hydrogen peroxide to make a paste. Spread it over the stove and let it sit for 15 minutes, then scrub.
Stay tuned for next week’s post, where we discuss other steps to clean your new home!
Contact Us
In need of a deep clean for your new home? Trust the expert cleaning company. Contact us today!